
Complete Guide to Osaka Kansai Airport
The first time you step out into the Kansai International Airport (KIX) arrivals hall, many travelers have the same questions:
"Where should I go next? How do I get to Osaka city? Should I buy something first?"
Don’t worry. Kansai Airport isn’t just the gateway to western Japan; it’s more like a small city. You can handle eating, shopping, accommodation, and transportation all in one place. This latest guide will help you navigate the airport efficiently—terminal layout, dining and shopping options, the best ways to reach the city, and useful tips. Follow it, and you’ll start your Kansai trip smoothly.

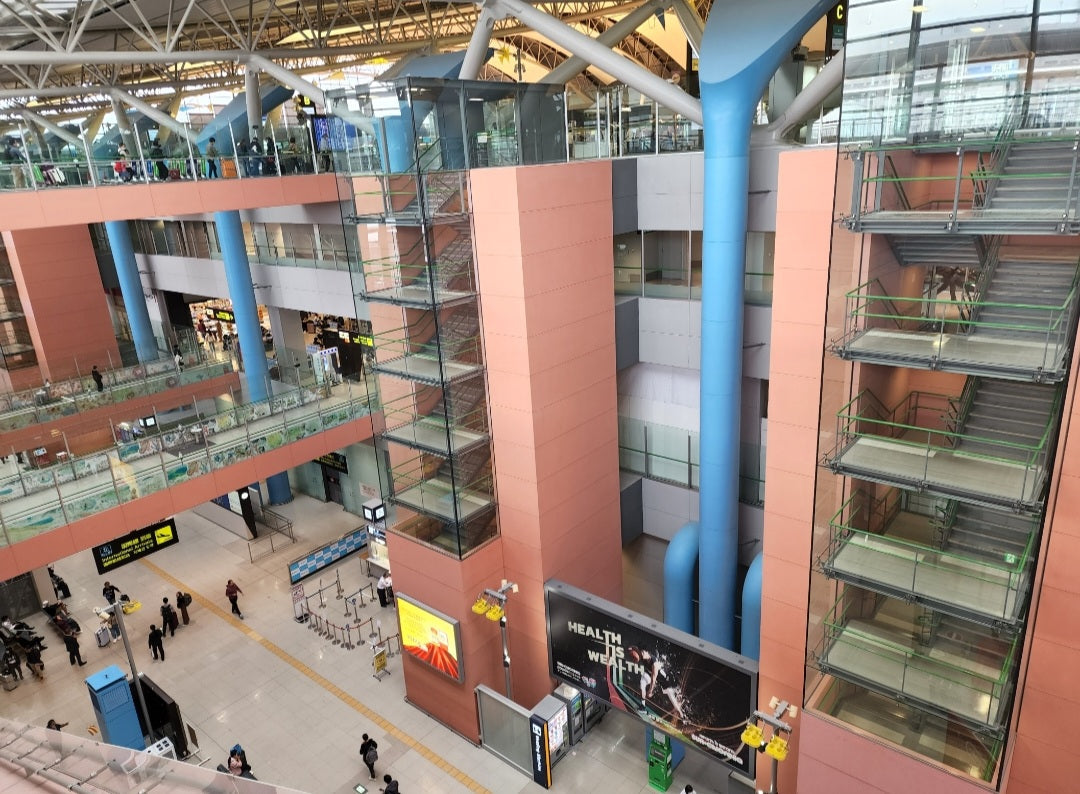
I. How Many Terminals Does Kansai Airport Have?
Kansai International Airport mainly consists of three functional areas:
• Terminal 1 (T1): The main terminal handling most international and domestic flights. Fully equipped, it’s the hub for duty-free shops, boutiques, and restaurants.
• Terminal 2 (T2): Designed for low-cost carriers. Facilities are basic, with limited commercial options, but enough for essential needs. Open 24 hours with free Wi-Fi.
• Aeroplaza Complex: Adjacent to T1, offering hotels, capsule hotels, convenience stores, and other services. Ideal for travelers with late-night or early-morning flights.
Note: T2 is a separate building. You must take the free shuttle bus from the first floor of Aeroplaza next to T1 to reach it (about 7–10 minutes). Make sure to allow enough time.
II. What Can You Do at the Airport?
Kansai International Airport is more than just a transportation hub; it’s a full-service center. Whether waiting for a flight or transiting late at night, it covers your basic dining, shopping, accommodation, and service needs.
1. Dining Options: From Traditional to Quick Meals
• Edo Koji Dining Area (T1, 2nd Floor): Sushi, tempura, ramen, and other classic Japanese dishes with authentic ambiance.
• T1, 4th Floor Food Court: Quick meals like Kineya Udon and Kamukura Ramen; affordable and convenient.
• International Chains & Convenience Stores: McDonald’s, Starbucks, and more. Lawson convenience stores in T1 and Aeroplaza are open 24 hours for breakfast, bento, drinks, etc.
2. Shopping Guide: Duty-Free and Souvenirs
• Duty-Free Shops (T1): Cosmetics, perfume, alcohol, cigarettes, and high-end items—perfect for last-minute shopping.
• Popular Souvenirs: Royce Nama Chocolate, Shiroi Koibito, Tokyo Banana, and other classic snacks.
• Drugstores: Common eye drops, face masks, and other essentials are available. Note that city drugstores usually have lower prices; airport shops are better for last-minute top-ups.
3. Accommodation: Solutions for Late-Night Transfers
• First Cabin Capsule Hotel (Aeroplaza): Open 24 hours, compact rooms ideal for short stays or red-eye flights.
• ANA Kansai Airport Hotel: Directly connected to T1, comfortable for families and business travelers.
4. Practical Services: Make Your Trip Efficient
• Luggage Storage & Delivery: Store luggage on the arrivals floor. Takkyubin (courier) service can deliver large luggage directly to hotels in Osaka, Kyoto, etc., saving you the hassle of carrying it.
• Lounges & Showers: KIX Airport Lounge and NODOKA Lounge in Aeroplaza offer paid lounges with showers, massage chairs, and rest areas—great for recovering after long flights.
• Communication Services: Several counters on the arrivals floor offer rental Wi-Fi and SIM cards. Online reservations often get better rates.
✈️ eSIM Advertisement Insert
Stay Connected from the Moment You Land — with Kawaii eSIM!
Skip the hassle of SIM card counters or rental Wi-Fi. With Kawaii eSIM, you can connect instantly upon arrival at Kansai Airport — no physical SIM, no waiting in line.
Just scan the QR code and enjoy fast, stable data across Japan. Perfect for travelers exploring Osaka, Kyoto, and beyond!
💡 Plans start from just a few dollars and can be purchased online before your trip.
👉 Be connected, be happy with Kawaii eSIM!
Tip: When planning, note that there is no direct walking path between T1 and T2. Take the free shuttle bus and allow at least 20 minutes.
III. How to Get to the City from the Airport
Choose your transportation method based on your destination. Here are the four main options:
1. Nankai Electric Railway: Best for Namba & Shinsaibashi
• Who it’s for: Destinations in southern Osaka (Namba, Shinsaibashi).
• Time & Price:
o Limited Express Rap:t: 34–38 minutes to Namba, ~1,490 yen (regular ticket + limited express fee).
o Regular train (Airport Express, etc.): ~44 minutes to Namba, ~970 yen.
• Advantage: Frequent departures, direct to Osaka’s main shopping area.
2. JR Haruka Express: Direct to Kyoto & Shin-Osaka
• Who it’s for: First stop is Kyoto or Shin-Osaka, or connecting to Shinkansen or going to Tennoji.
• Time & Price:
o To Kyoto: ~75 minutes, ~2,850 yen.
o To Shin-Osaka: ~50 minutes, ~2,330 yen.
• Advantage: Comfortable and fast, ideal for longer trips.
• Note: From 2025, ICOCA card deposit refunds are discontinued; check when purchasing packages.
3. Airport Bus: Direct to Hotels & Nearby Cities
• Who it’s for: Families or travelers with lots of luggage; destinations like Nara, Kobe, Universal Studios Japan, or Osaka (Umeda) hotels.
• Time & Price:
o To Osaka city: ~60 minutes, 1,500–1,600 yen.
o To Kyoto: ~90 minutes, ~2,800 yen.
• Advantage: No transfers, direct to hotel or main city points. Some lines have late-night or early-morning departures; not all operate 24/7.
4. Taxi: Most Flexible & Convenient
• Who it’s for: Groups splitting the fare, late-night arrivals missing the last train, or travelers needing door-to-door service.
• Time & Price: ~50–70 minutes to Osaka city. Daytime fare ~15,000 yen, late-night or peak hours ~18,000–20,000 yen.
• Advantage: No luggage hassle, most convenient.
📌 Tip: Fares and schedules may vary. Use official websites or purchase counters for the latest info.
IV. Practical Tips
• Cash Preparation: Most stores accept transport cards, credit cards, Alipay, and WeChat Pay, but small restaurants and buses may still require cash. Bring 10,000–20,000 yen just in case.
• Time Management: Arrive at least 3 hours before international flights. During peak season, security checks can exceed 1 hour.
• Useful Tools:
o Google Maps (for directions)
o Norikae Annai (popular Japanese transit app)
o Visit Japan Web (pre-register for immigration/customs for faster entry)
Links to previous Kansai guides can be included here.
Kansai Airport isn’t complicated at all. Once you understand the terminal layout and city transportation, your trip becomes stress-free. We’ll continue updating practical guides for Kansai and other regions of Japan—follow along, and don’t forget to join the Osaka Free Travel Community to share tips and the latest insights.